
A while back, I discovered something of a weakness in DDMS: there’s a bug in the Allowable Functions permissions settings for Item. In short, you can’t give someone read-only access to Item History where bins and inventory are kept. To allow them to view it gives them the ability to change fields on that subscreen. Since we’re talking about possibly unauthorized employees changing bins or on-hand quantities in inventory, we can’t have that. But I needed a way for my guys in the warehouse and occasionally salespeople to see bin locations. While of course you can simply do a dummy order for the item in Order Entry, we can come up with something a little more elegant than that, I think.
If you downloaded the preconfigured XAMPP package from my last post, you maybe already stumbled across this report. If not, go to http://localhost/warehousereports and you’ll be greeted by a screen like so:
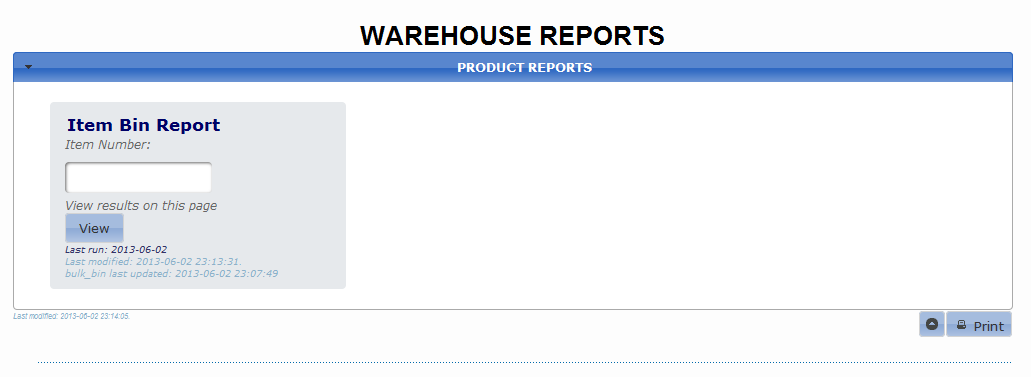
Click image for large version
When you get the ‘Enter your DDMS ID:’ box, it’s really that simple – use the same ID you use to sign into DDMS. This will set a cookie in your browser so it remembers you. You’ll see the most common usage for this cookie in a moment.
Not bad-looking, if I do say so. However, I’ll quickly mention that a lot of the styling comes courtesy of ThemeRoller, which lays over the jQuery UI. The rest of the styling (and the real reason this framework doesn’t look awful) comes courtesy of John Hancock, a brilliant designer and all-around good guy.
If you’re using the version of itembin.php that came in the bendustries_xampp package, there is a small change you’ll likely need to make. In the file, located in /xampp/htdocs/includes/warehouse/itembin.php, find the line “where ItemInventory.Location = ‘9’” and change the location to your primary inventory location (likely location 1). Or, delete from that line and the ‘and’ that follows it so the query reads
select Item.SKU, Item.MACCode, Item.Description, Item.Unit, ItemInventory.PrimaryBin, ItemInventory.SecondaryBin

from Item left join ItemInventory on Item.Id = ItemInventory.ItemId

where ((Item.SKU like (?)) and (Item.MACCode like (?)))
The latter way would have the possible added advantage of reporting inventory for all locations, if you maintain multiple locations with inventory.
Once that’s done, we can get to the business at hand, which is finding where our products are out in the warehouse. In the Item Number box, enter the item number of a product you have out in your warehouse and hit the View button. I’ve done it with the classic black, fine-point Sharpie, and here’s what I get:
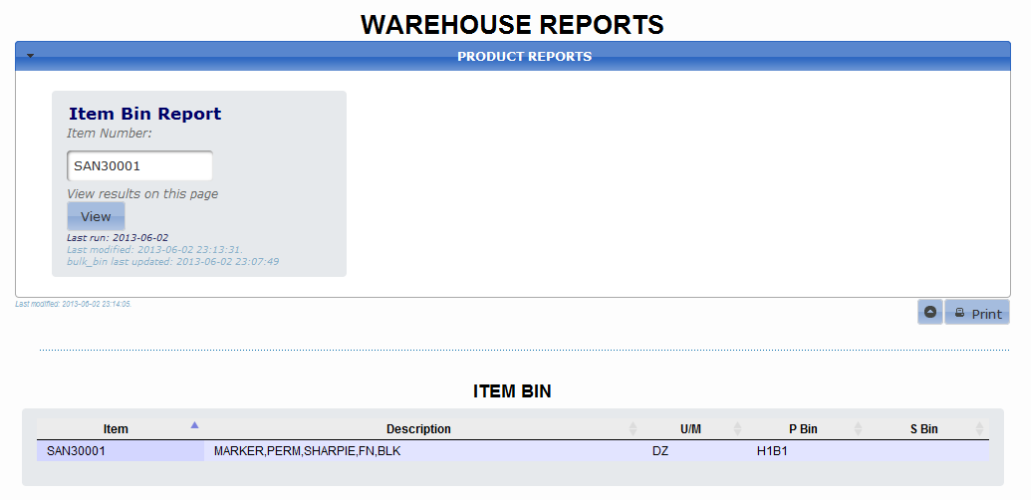
Click image for large version
Let’s look first at our results. As you can see, it reports item number, description, the Unit of Measure, and the Primary and Secondary bins. If you use Bulk Bins, that’s a bit different, and something I’ll cover in another article following shortly. From what I’ve heard, though, most dealers don’t use Bulk Bins and so I’ve made this simplified version of the report.
Now we’ll have a look at the Item Bin Report box itself. Below the View button, you see a ‘Last run’ entry. This comes from the cookie set when the page asked for your DDMS ID. Yours at the moment will say ‘never’, but if you’ve run the report already, refresh the page. Now you should see today’s date. The ‘Last modified’ entry helps me to keep track of when I last made any modifications to the itembin report itself. Below that is a straggling bit of code for the version of the report that reports on bulk bins, as well, and so can be ignored for now.
Finally, as a late introduction, what you’re seeing here is what I’ve titled the PSyOPs Framework (PHP/SQL for Office Products (dealers)). Catchy, yeah? This framework allows an easy way to add reports that can be run on-demand. Using the preconfigured version of XAMPP, there are only minor tweaks that will need to made to files occasionally to have them up and running on your own system. This system is accessed through a web browser, and can handle concurrent connections. Through a simple menu system we’ll add later, all reports will only be a couple clicks away.
Here I’ve put in your hands the beginnings of what is (in my humble opinion) the easiest method of reporting DDMS has ever had. We’ll be adding more reports in the coming days. In the meantime, think about the reports you’d like to be able to run. As always, my assistance is available at 
Recent Comments